Harnessing Husky: A Comprehensive Guide to Git Hooks for Quality Code
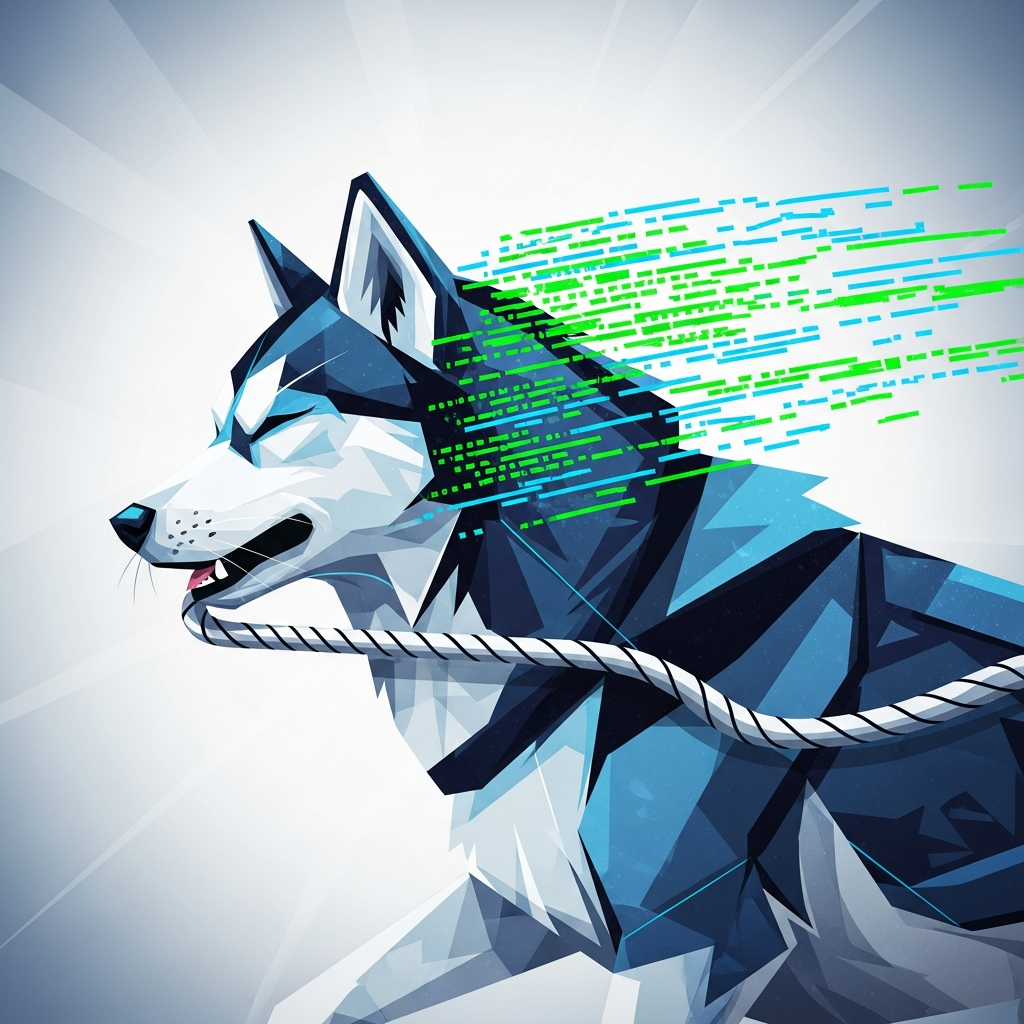
Husky: Your First Line of Defense for Code Quality
In the fast-paced world of software development, maintaining code quality is non-negotiable. Yet, even the most disciplined teams can fall into the trap of merging flawed code—whether due to oversight, tight deadlines, or inconsistent processes. Enter Husky, a lightweight yet powerful tool that acts as your first line of defense by enforcing pre-commit hooks. By integrating Husky into your workflow, you ensure that code quality checks run automatically before changes are committed, catching issues early and saving your team countless hours of debugging and rework.
Why Pre-Commit Hooks Matter
Pre-commit hooks are scripts that execute before a commit is finalized. They serve as a gatekeeper, preventing problematic code from entering your repository. Without them, developers might push untested, unformatted, or even broken code—leading to integration headaches and technical debt. Husky simplifies the setup of these hooks, making it effortless to enforce best practices like:
- Linting: Automatically check for code style violations (e.g., ESLint, Prettier).
- Testing: Run unit tests or static analysis to catch regressions early.
- Security Scans: Detect vulnerabilities before they reach production.
- Custom Rules: Enforce team-specific conventions (e.g., commit message formats).
Husky in Action: A Practical Example
Setting up Husky is straightforward. After installing it via npm or yarn, you define hooks in a package.json or a dedicated .husky directory. For example:
{
  "husky": {
    "hooks": {
      "pre-commit": "npm run lint && npm test"
    }
  }
}
This configuration ensures that every commit triggers a linting check and test suite execution. If either fails, the commit is blocked—guaranteeing that only clean, functional code progresses. The beauty of Husky lies in its flexibility; you can tailor hooks to your team’s needs, whether you’re enforcing TypeScript checks, Dockerfile validation, or even CI/CD pipeline prerequisites.
Beyond the Basics: Advanced Use Cases
Husky isn’t just for linting and testing. Advanced teams leverage it for:
- Branch Protection: Restrict commits to specific branches (e.g., only allow merges to
mainvia PRs). - Dependency Checks: Verify package versions or license compliance before commits.
- Documentation Updates: Ensure READMEs or API docs stay in sync with code changes.
By embedding these checks into the commit process, Husky shifts quality control left, reducing bottlenecks in later stages of development. The result? Faster, more reliable releases and a culture of accountability.
In an era where software moves at breakneck speed, Husky is more than a tool—it’s a mindset. It’s about proactively safeguarding your codebase, not just reacting to issues. If you’re not using pre-commit hooks, you’re leaving quality to chance. With Husky, you’re making it a non-negotiable part of your workflow.
When it comes to pre-commit hooks, Husky is a well-established favorite, but it’s not the only player in the game. Developers also turn to Lefthook, pre-commit.ci, and other tools to enforce code quality before changes are committed. Each has its strengths, and the best choice depends on your workflow, team size, and project requirements.
Husky: The Git Hook Powerhouse
Husky remains the go-to for many because of its simplicity and deep Git integration. It’s lightweight, easy to configure, and works seamlessly with lint-staged for staged-file-specific checks. Husky’s strength lies in its flexibility—whether you need to run tests, format code, or enforce commit message conventions, it handles it with minimal overhead.
Lefthook: The Modern Alternative
Lefthook is gaining traction as a more modern, feature-rich alternative. Unlike Husky, which relies on shell scripts, Lefthook uses a declarative YAML configuration, making it more maintainable and easier to debug. It also supports parallel execution, which can significantly speed up workflows. However, the learning curve is slightly steeper, and it lacks some of Husky’s ecosystem integrations.
pre-commit.ci: The Cloud-Based Option
For teams that prefer a cloud-based solution, pre-commit.ci is an interesting choice. It runs pre-commit hooks in a CI environment, ensuring consistency across all developers’ machines. This eliminates the "it works on my machine" problem but introduces a dependency on external services. It’s ideal for teams that prioritize standardization over local flexibility.
Making the Right Choice
The best tool depends on your needs:
- Husky is best for teams that want a lightweight, Git-native solution with broad ecosystem support.
- Lefthook suits teams that prefer declarative configurations and need advanced features like parallel execution.
- pre-commit.ci is ideal for enforcing consistency in distributed teams, though it requires CI integration.
Ultimately, Husky remains a strong contender, but exploring alternatives can reveal workflow optimizations you might have missed.
Advanced Husky Configuration: Mastering Complex Scenarios
Husky is a powerful tool for managing Git hooks, but its true potential shines in complex workflows. Beyond basic linting and testing, advanced configurations can enforce team standards, optimize CI/CD pipelines, and even integrate with external services. Here’s how to leverage Husky for sophisticated use cases.
Conditional Hook Execution
Not all hooks should run on every commit. Use --no-verify flags or environment variables to conditionally execute hooks. For example:
- Skip hooks for specific branches: Check
git rev-parse --abbrev-ref HEADto excludemainorreleasebranches from certain checks. - Dynamic hook logic: Use shell scripts or Node.js to evaluate conditions before running hooks (e.g., skip tests if only documentation files changed).
Parallelizing Hooks for Performance
Long-running hooks can slow down development. Husky v8+ supports parallel execution via parallel in your husky.config.js:
module.exports = {
  hooks: {
    "pre-commit": {
      parallel: ["lint", "test:unit", "test:e2e"],
    },
  },
};
This reduces wait time by running independent tasks concurrently. For CPU-bound tasks, limit parallelism to avoid resource contention.
Integrating with External Services
Husky can trigger API calls or deployments. For example:
- Security scans: Run
npm run security-scanin apre-pushhook to block commits with vulnerabilities. - Automated deployments: Use a
post-commithook to deploy to staging if the commit message contains[deploy].
Store sensitive credentials in environment variables or a secrets manager, never in the hook script.
Debugging and Maintenance
Advanced hooks require robust error handling. Log output to a file for debugging, and use set -e in shell scripts to fail fast. Test hooks locally with:
npx husky run pre-commitFor teams, document hook behavior in a CONTRIBUTING.md file to avoid surprises.
By mastering these techniques, Husky becomes more than a linting tool—it’s a gatekeeper for code quality, security, and workflow efficiency.
Troubleshooting Common Husky Issues
Husky is a powerful tool for managing Git hooks, but like any dependency, it can occasionally present challenges. Whether you're setting up pre-commit hooks for the first time or debugging an existing workflow, understanding common pitfalls will save you time and frustration. Below, we address frequent issues and provide actionable solutions.
1. Hooks Not Triggering
If your Husky hooks aren't executing as expected, start by verifying the installation and configuration:
- Check Husky's version: Ensure you're using a compatible version with your Git client. Run
husky --versionto confirm. - Validate the hook file: Confirm the hook script exists in
.husky/and has executable permissions (chmod +x .husky/pre-commit). - Inspect Git's core.hooksPath: If hooks still don't run, check if Git is configured to use Husky's directory:
git config core.hooksPath .husky.
2. Permission Errors
Permission issues often arise when scripts lack execute permissions or Husky isn't properly initialized:
- Reinitialize Husky: Run
npx husky installto ensure hooks are linked correctly. - Set execute permissions: Use
chmod +x .husky/*to make all hooks executable. - Check Node.js environment: Ensure the script's Node.js version matches your project's requirements.
3. Slow or Hanging Hooks
Performance bottlenecks can disrupt workflows. Optimize hooks by:
- Minimizing dependencies: Avoid heavy libraries in pre-commit scripts.
- Using caching: Tools like
lint-stagedcan cache results to speed up repeated runs. - Parallelizing tasks: If possible, split hooks into smaller, concurrent processes.
4. Cross-Platform Compatibility
Hooks may behave differently across operating systems. To ensure consistency:
- Use shebang lines: Specify the interpreter explicitly (e.g.,
#!/usr/bin/env node). - Test on all target OSes: Verify hooks work in Windows, macOS, and Linux environments.
- Normalize line endings: Configure Git to handle line endings consistently (
git config --global core.autocrlf true).
By addressing these common issues proactively, you can maintain a smooth Git workflow with Husky. For persistent problems, consult Husky's official documentation or community forums for advanced troubleshooting.
In modern software development, consistency is key. Whether you're working on a small project or a large-scale enterprise application, ensuring that code adheres to standards before it reaches the repository is critical. This is where Husky shines as a pre-commit hook manager, but its value extends far beyond local checks—it can be seamlessly integrated into your CI/CD pipeline to enforce consistency at every stage of deployment.
Why Husky in CI/CD?
Husky is primarily known for running scripts before commits, but its hooks can also be triggered in CI/CD environments. By embedding Husky checks in your pipeline, you ensure that the same rules applied locally are enforced in automated workflows. This eliminates discrepancies between developer environments and production-ready code, reducing the risk of bugs slipping through.
For example, if your Husky setup includes linting, testing, or formatting checks, these can be mirrored in your CI/CD pipeline. Tools like GitHub Actions, GitLab CI, or Jenkins can execute Husky hooks as part of the build process, ensuring that every pull request or merge request meets the same standards before deployment.
Practical Implementation
To integrate Husky into your CI/CD pipeline, follow these steps:
- Define your hooks: Use Husky to set up pre-commit, pre-push, or custom hooks that run checks like ESLint, Prettier, or unit tests.
- Trigger hooks in CI: In your CI configuration (e.g., GitHub Actions), add a step to run
husky installand then execute the hooks. For example:
steps:
  - name: Install Husky
    run: npm install
  - name: Run Husky hooks
run: npx husky install && npx husky run .husky/pre-commit- Fail fast: Configure your pipeline to fail immediately if any Husky hook fails, preventing non-compliant code from progressing.
Best Practices
To maximize the effectiveness of Husky in CI/CD:
- Keep hooks lightweight: Avoid long-running tasks in pre-commit hooks; reserve heavy checks for CI.
- Document expectations: Clearly outline which checks run locally and which run in CI to avoid confusion.
- Leverage caching: If your hooks involve dependencies (e.g., Node.js modules), cache them in CI to speed up execution.
By embedding Husky in your CI/CD pipeline, you create a robust, end-to-end enforcement mechanism that ensures consistency from the first commit to production. This not only improves code quality but also fosters a culture of accountability and reliability across your team.